
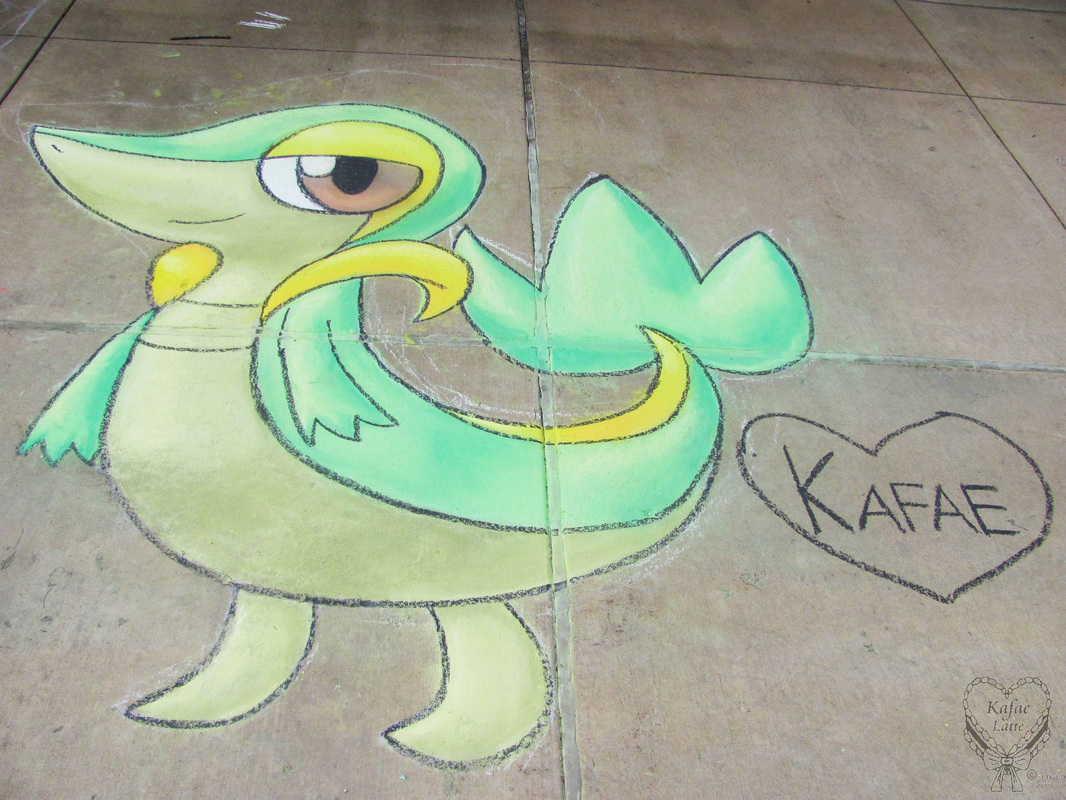
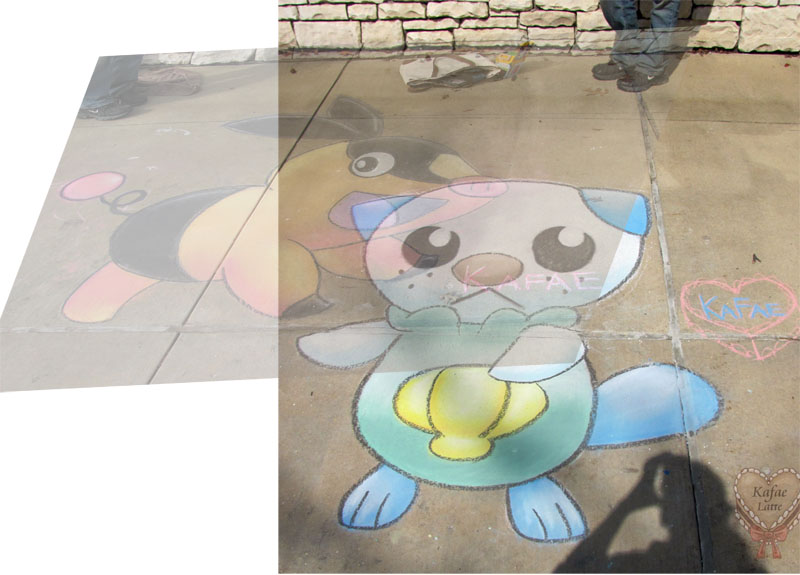
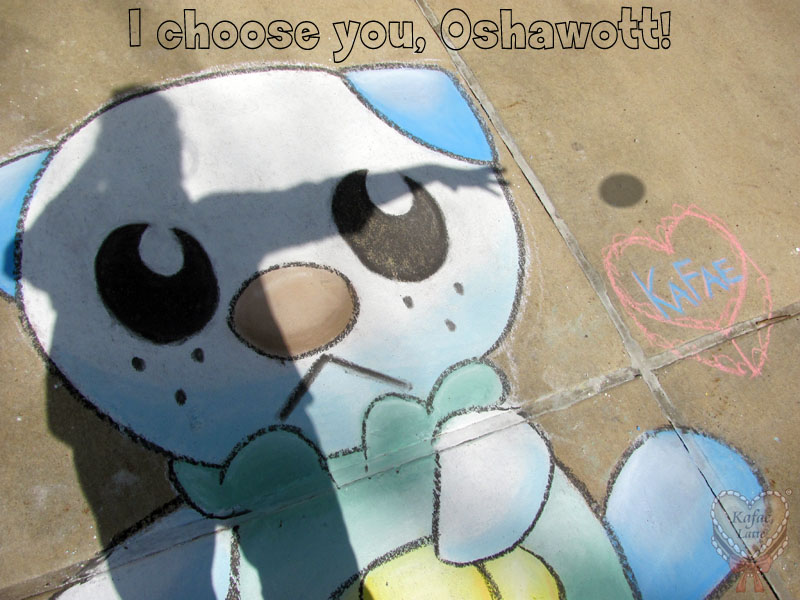
I finally drew the last starter for Pokemon Black/White: Snivy! He was by far the biggest and took the most time (like 3 hours!). I don't know why I drew him so much bigger... but it was fun! Click for larger images. :)
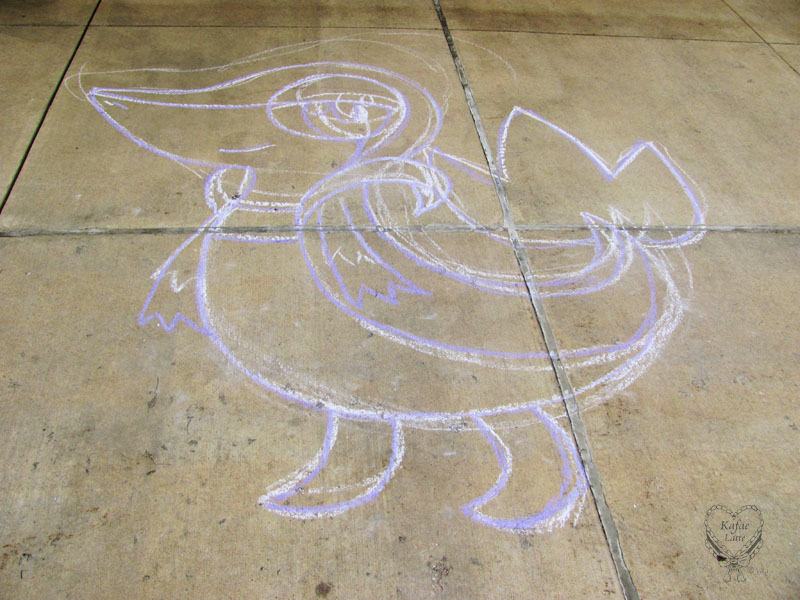
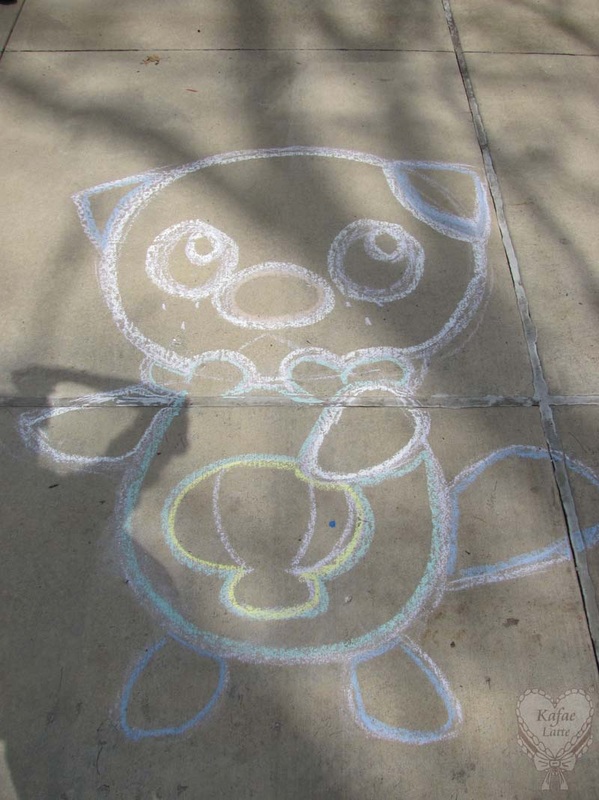
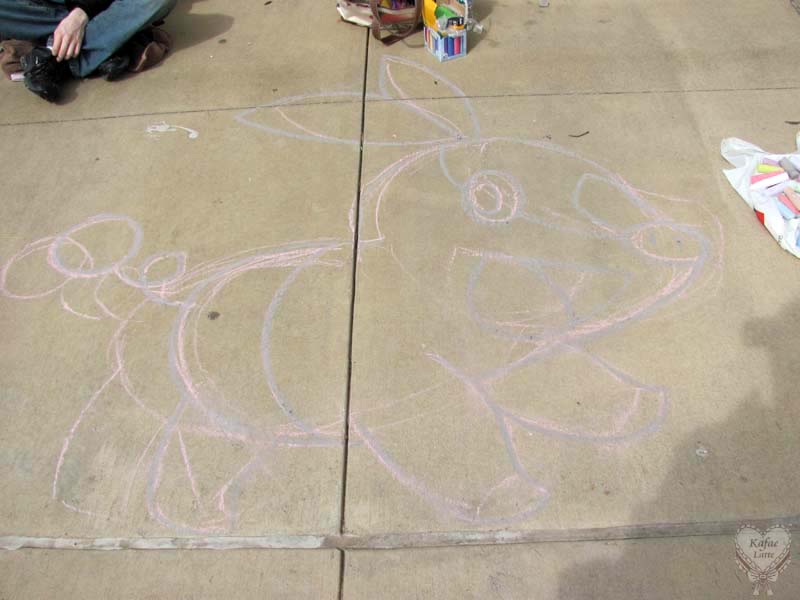
Sketched it out!
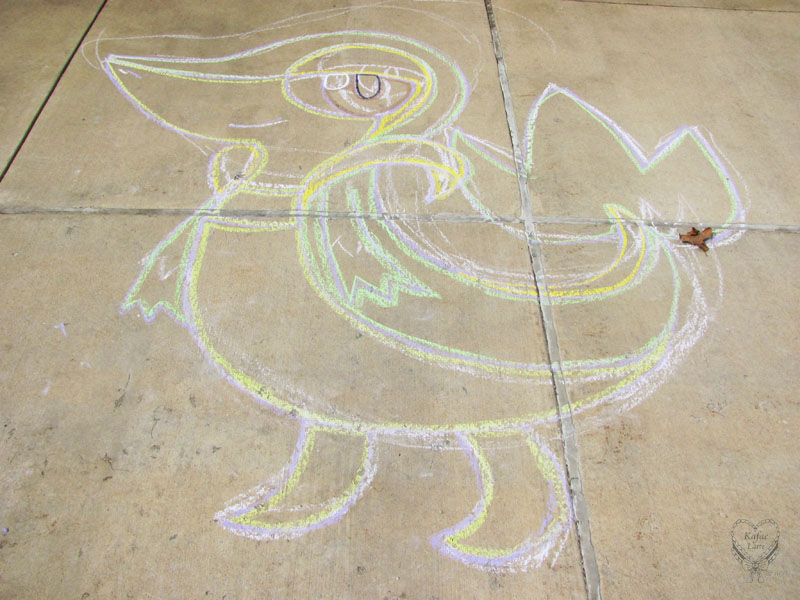
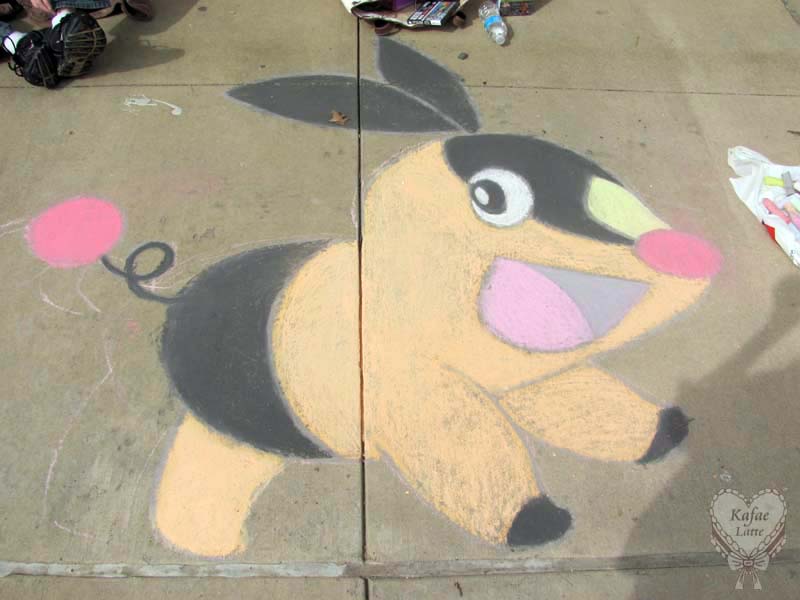
Outlined the colors!
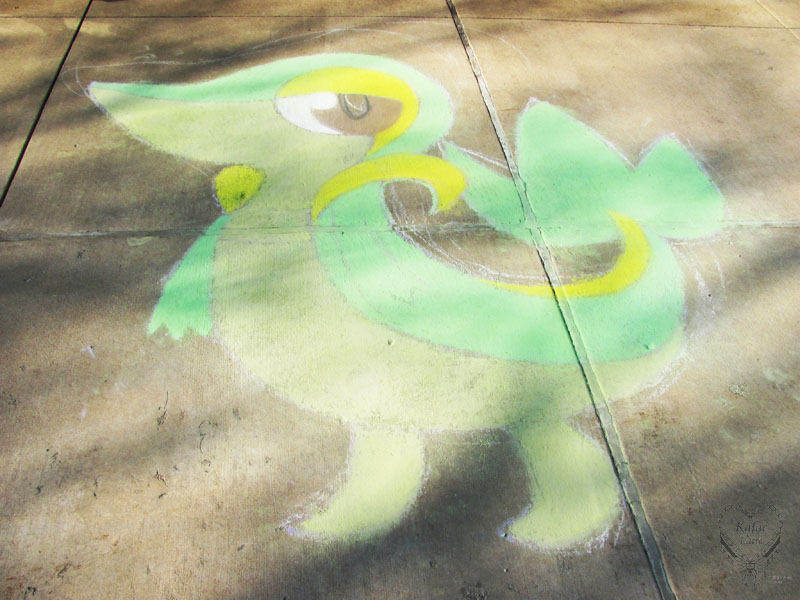
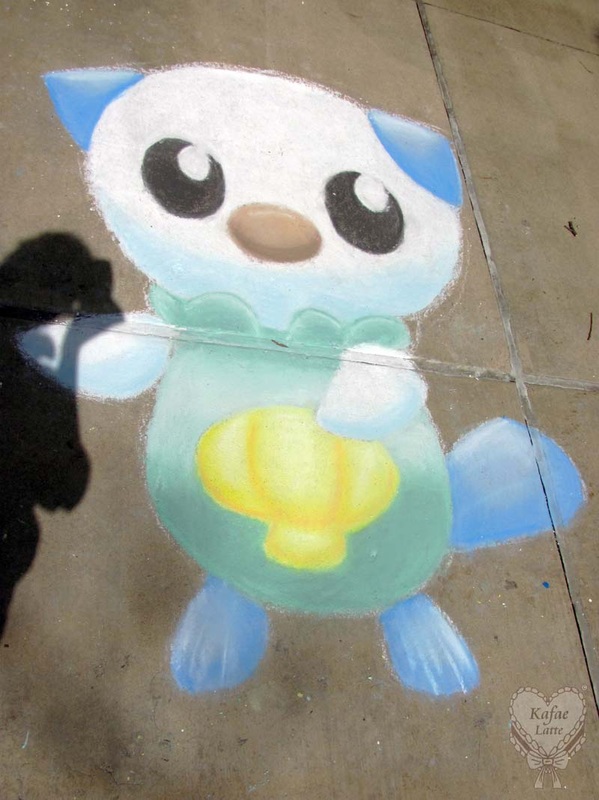
Filled it in with base colors!
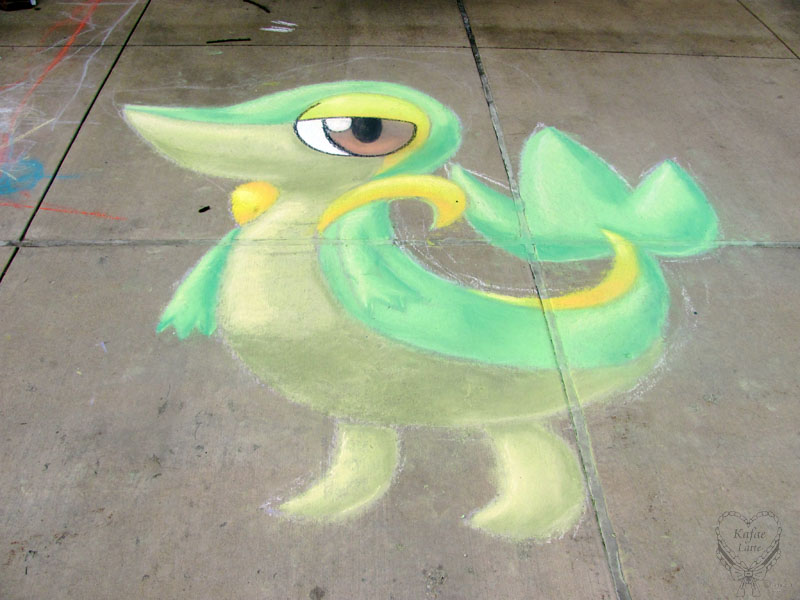
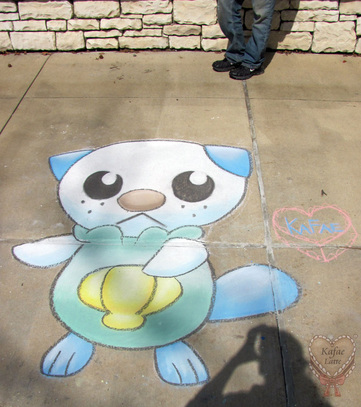
Added the shading!
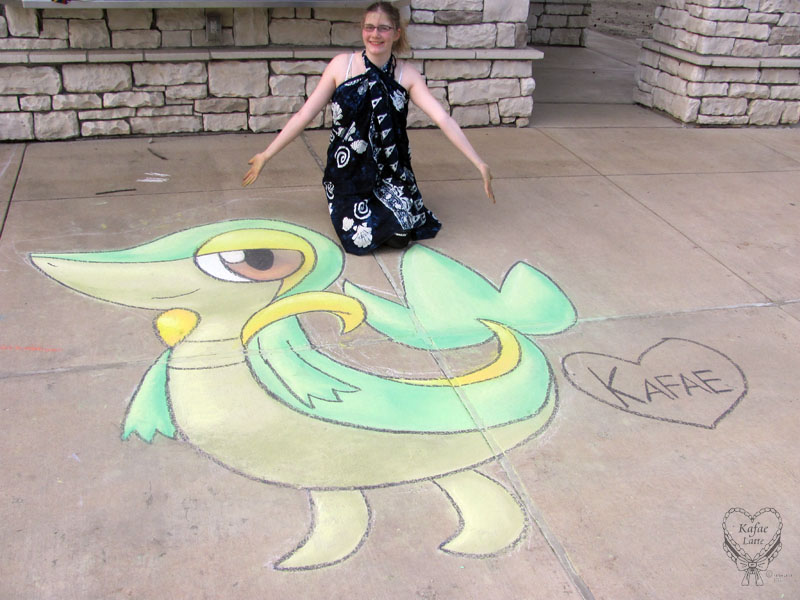
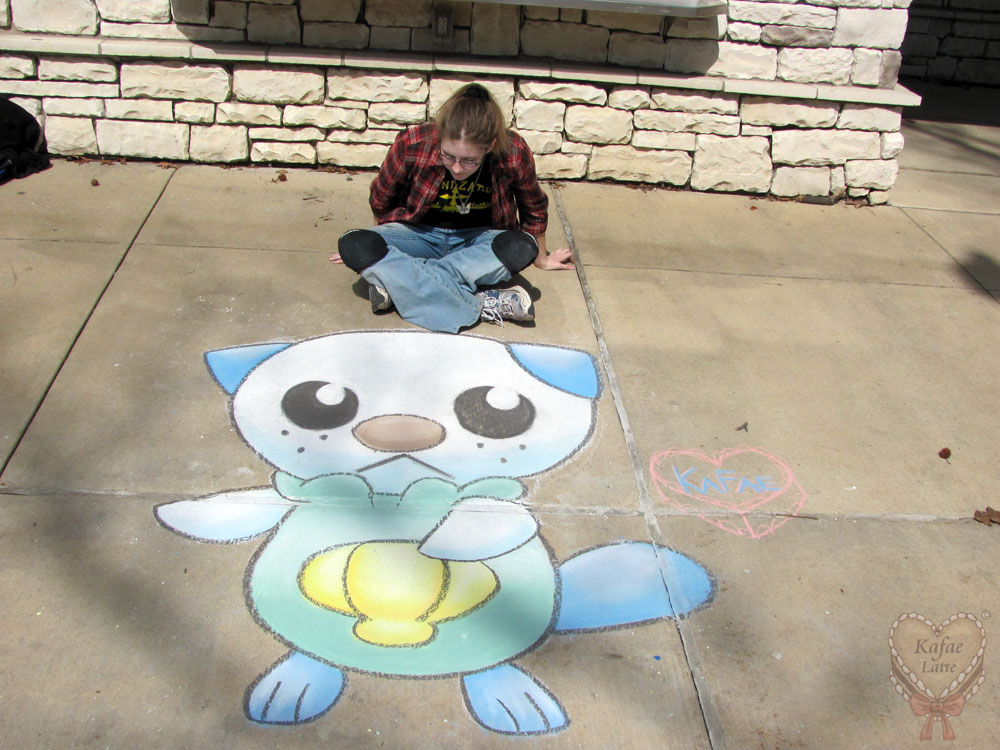
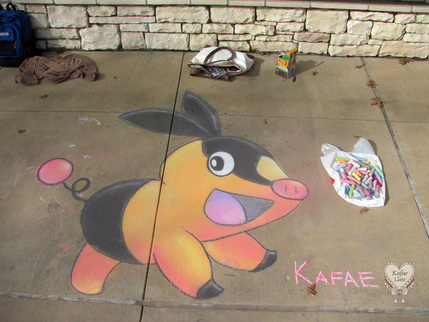
See how big he is!? SO much chalk!
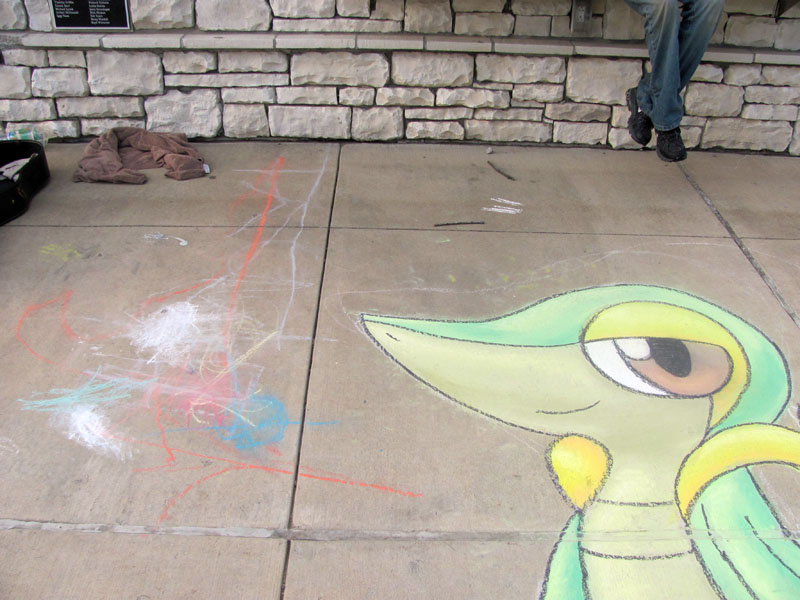
A little girl wanted to draw too so I lent her some of my chalk. She was very polite and did not step on my drawing once! How sweet!!! ^_^
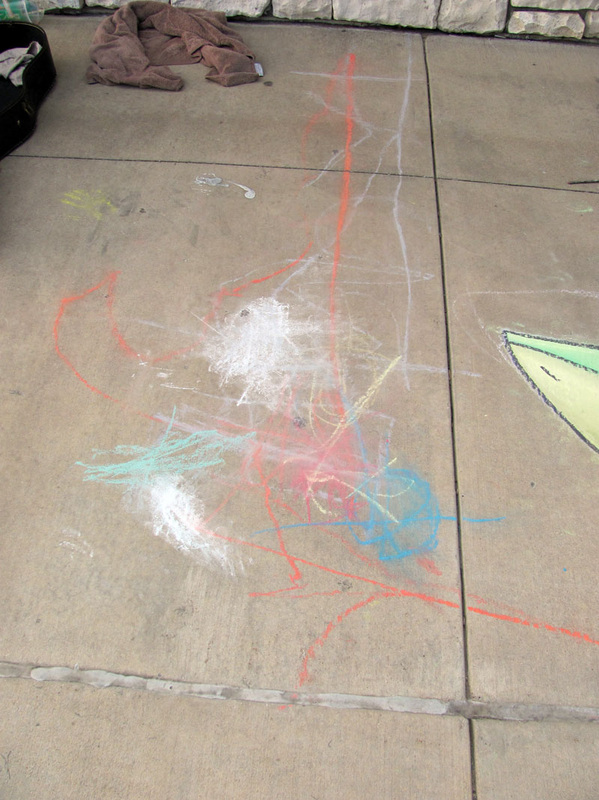
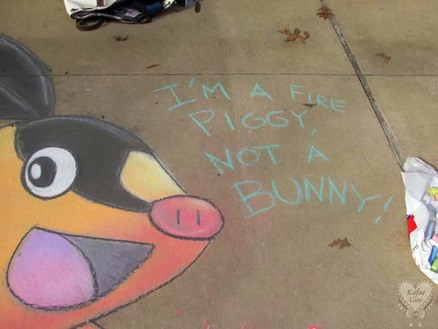
The drawing the little girl drew next to mine. It's wonderful <3
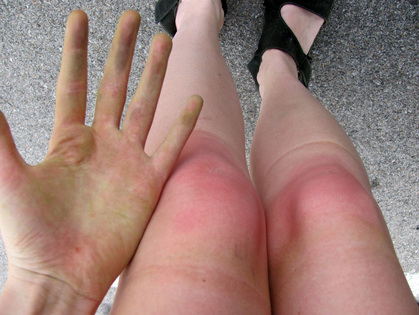
Owwwww..........


 RSS Feed
