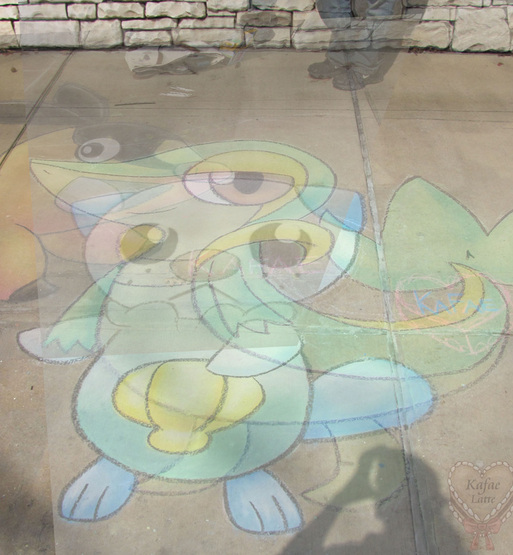
I spliced the images together to see where all my chalk drawings were according to each other. Cool!

|
|
|
I spliced the images together to see where all my chalk drawings were according to each other. Cool!
0 Comments
I finally drew the last starter for Pokemon Black/White: Snivy! He was by far the biggest and took the most time (like 3 hours!). I don't know why I drew him so much bigger... but it was fun! Click for larger images. :) 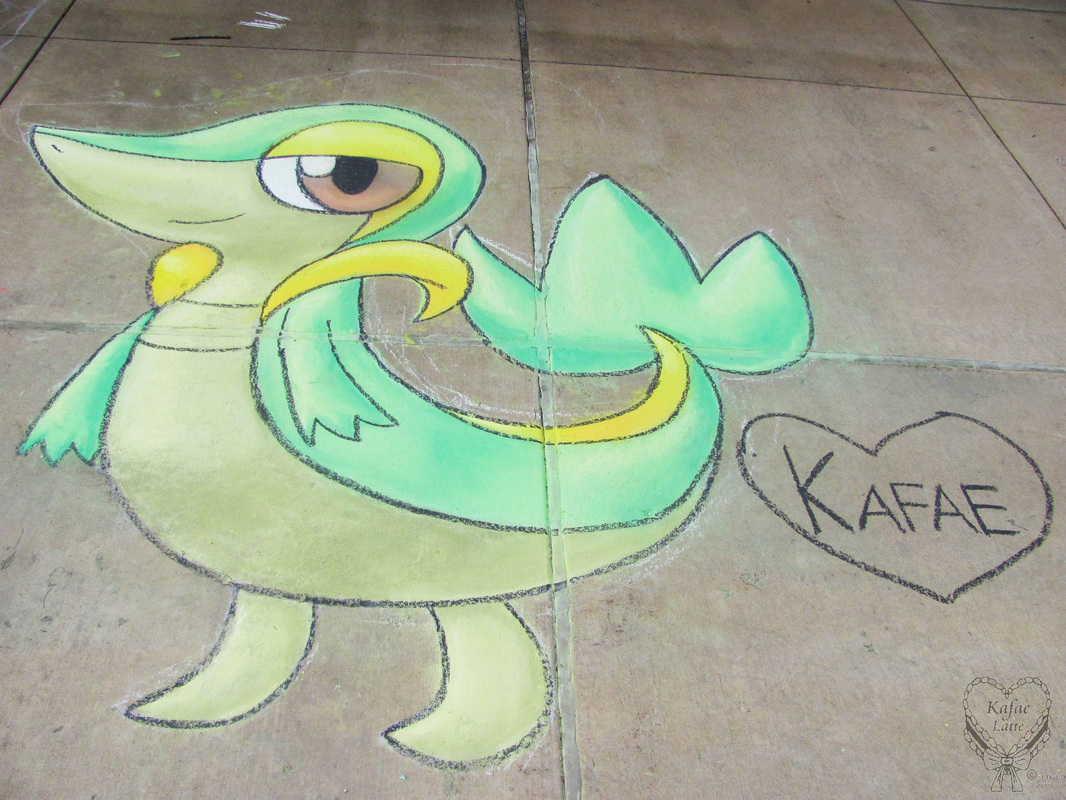 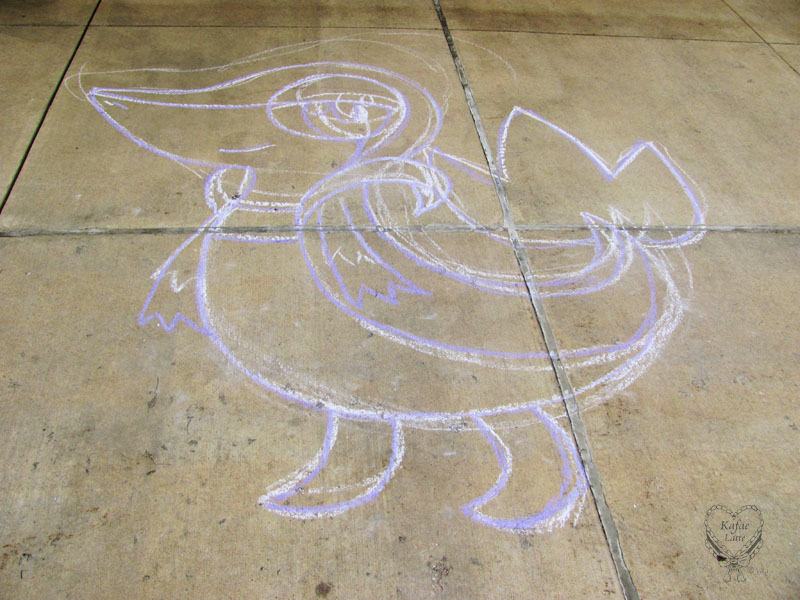 Sketched it out! 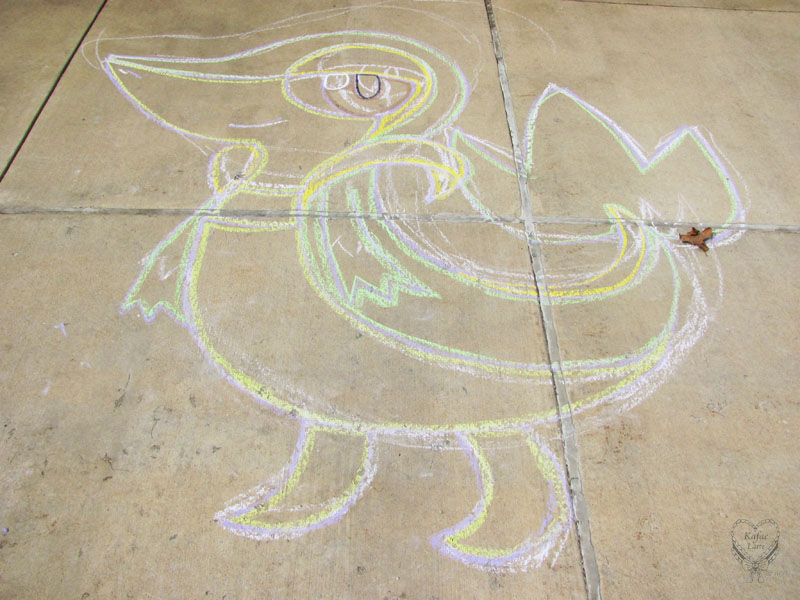 Outlined the colors! 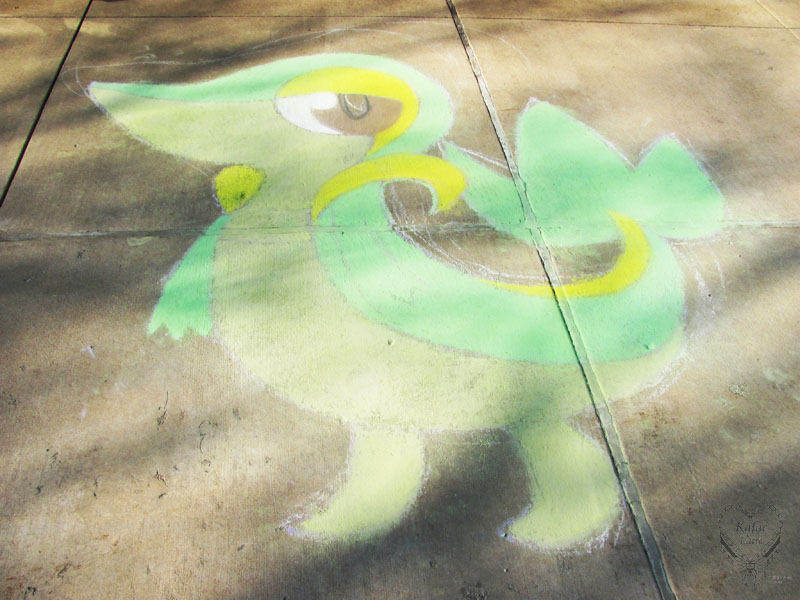 Filled it in with base colors! 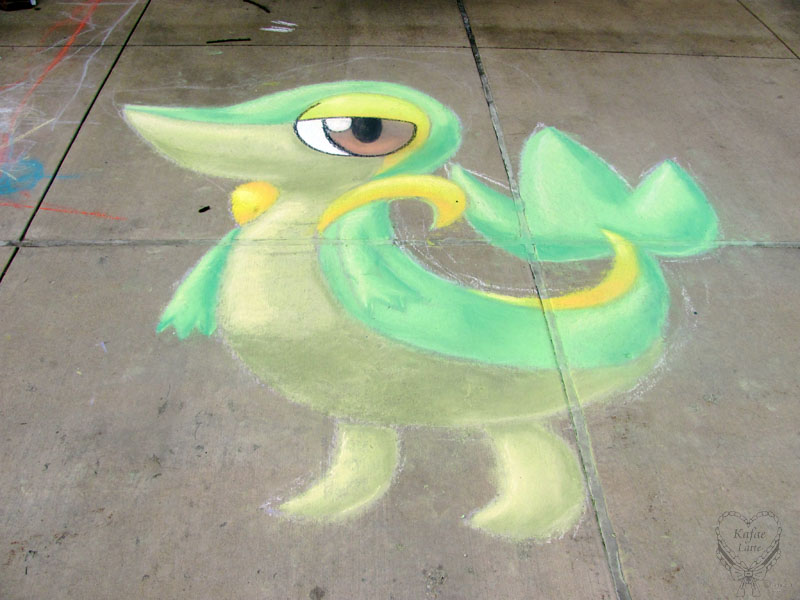 Added the shading! 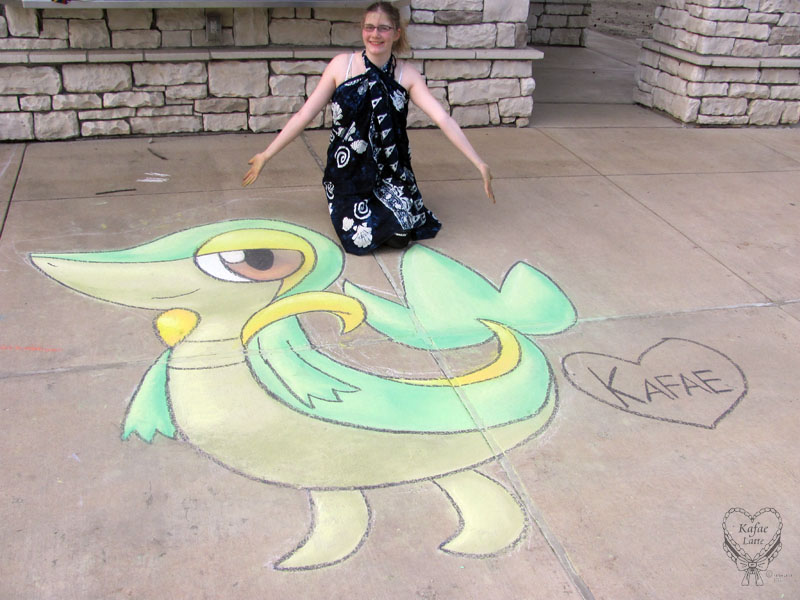 See how big he is!? SO much chalk! 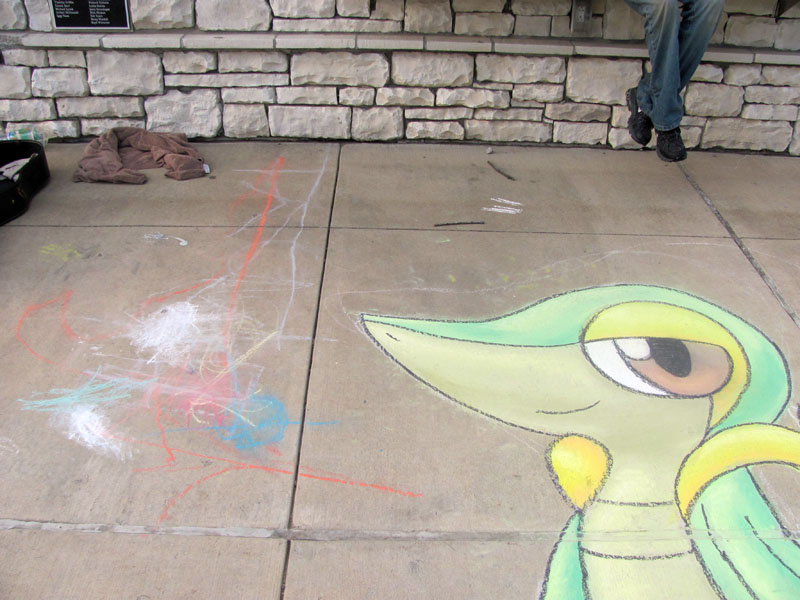 A little girl wanted to draw too so I lent her some of my chalk. She was very polite and did not step on my drawing once! How sweet!!! ^_^ 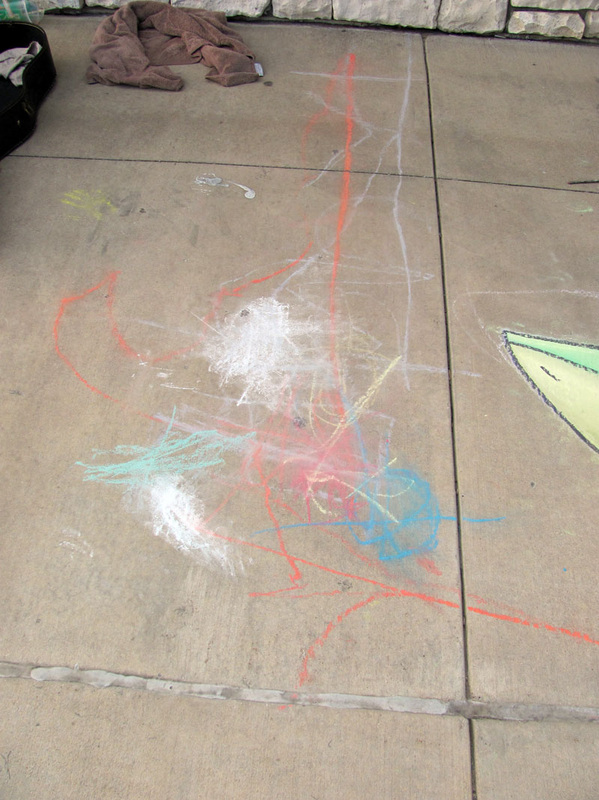 The drawing the little girl drew next to mine. It's wonderful <3 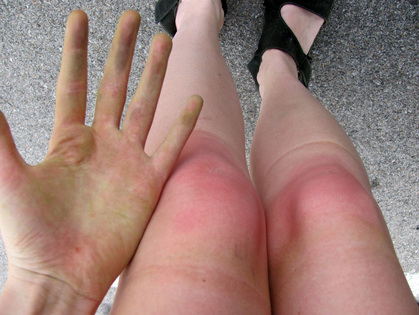 Owwwww.......... Here's some tips I found for using Manga Studio. I can't remember where I got this, but I know I didn't write it. It's not nessasarily the best way to do things (especially like shading and lightingIt was helpful though so here it is:
Coloring:----------------------------------------------------------------------------- Select full color pallet Put color layer underneath all layers Use "Brush" tool to paint Add a darker color for shading Dodge tool for hghlights Burn tool for shadows color blender to smooth Panels:------------------------------------------------------------------------------- Create a panel ruler layer Cut panels (you can change line and gutter width. 45degree keeps lines straight) Ruler -> expand panel to make it go off the page Rastorise layer Toning:------------------------------------------------------------------------------- Select a drawing tool (marker, brush, ect) Paste the tone on the page Press Alt+A Delete the tone Use the drawing tool you had to paint tone Use the eraser to add light and opacity for hue Add a tone to a layer Go to layer properties change the layer to color You can change the layer color to make color tones Scanning Lineart:--------------------------------------------------------------------- Scan in image. You need a higher dpi for a smaller paper You can use Photoshop to adjust the image Adjust brightness to get rid of spots Adjust Auto Levels to increse black (image-adjustments-autolevels) Blur the whole image a few times to smooth (Filter-Blur-blur) Use elipse, box and line tools to clean up messy shapes/lines 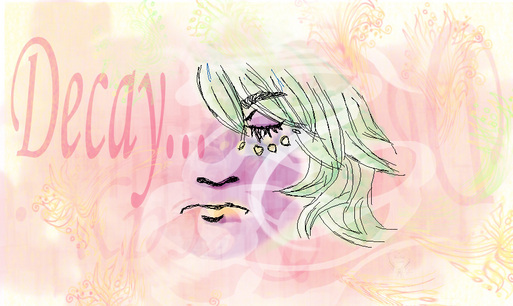 This was a piece I did just to learn more about Photoshop and custom brush techniques. I made some custom brushes for this and will share them if I can. :) Here's how I made it: CLICK FOR LARGER IMAGES!  I started by sketching out half a face. This was just for fun and I kept adding to it until I realized it could turn into a finished piece. 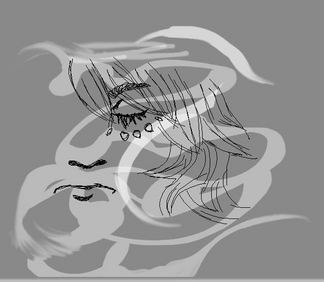 I used a custom brush I made to add ribbon lines in white with not complete opacity. I also used the smudge tool to taper out the lines. 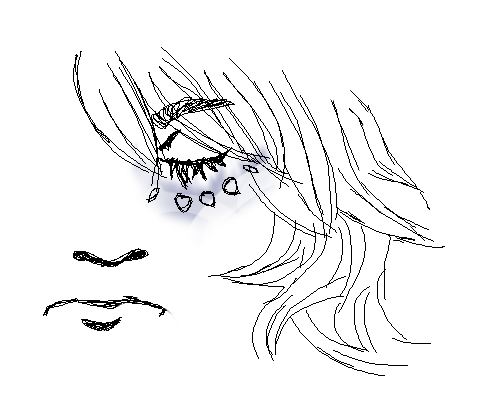 Next I added blue under the eye. 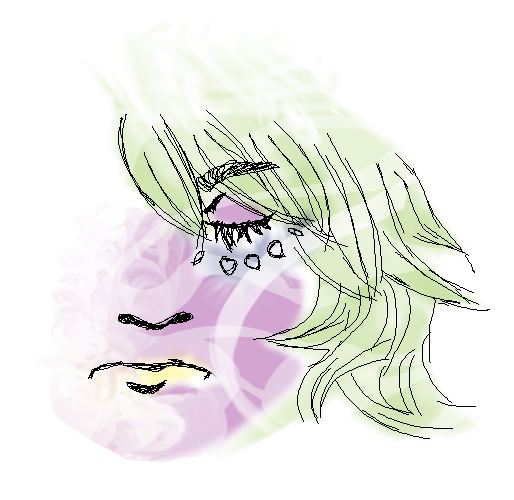 I added the rest of the base colors. The white ribbons I did show up now. I also used the smudge tool on the left side in a circle motion to make the color gradient out a bit. 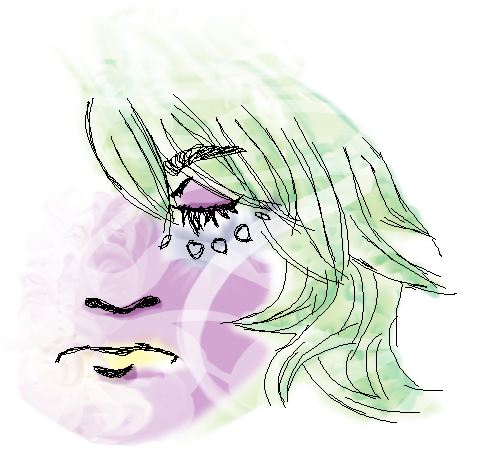 Added shading to the face features and hair. 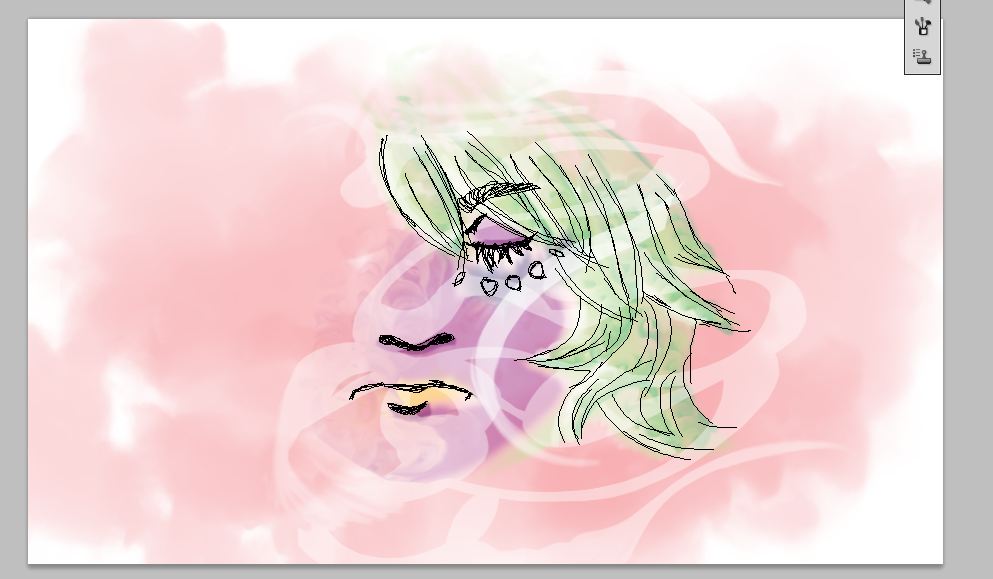 I added a pink background with a wet-ink-like brush. 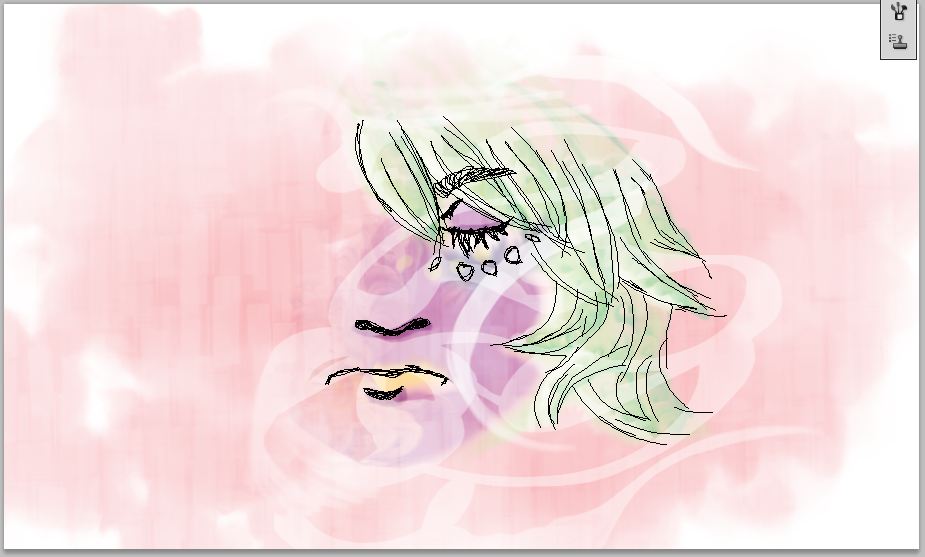 I added more white to the edges of the image with a boxy brush. 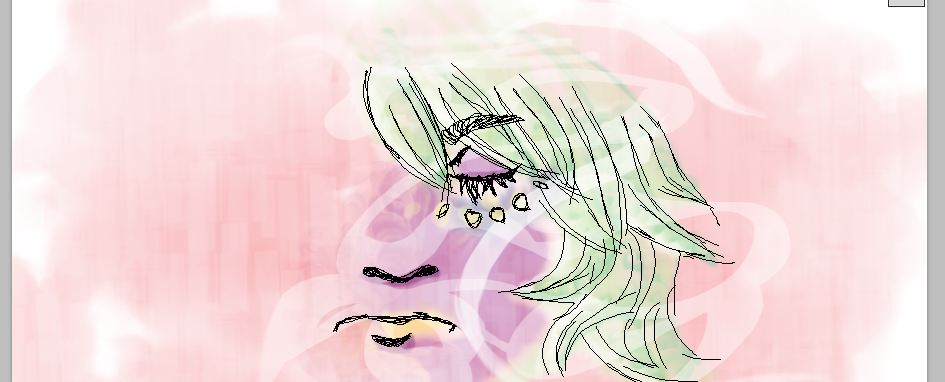 More boxes and I colored the face tattoos with yellow.  Text was added and stretched vertically. I lowered the opacity as well. 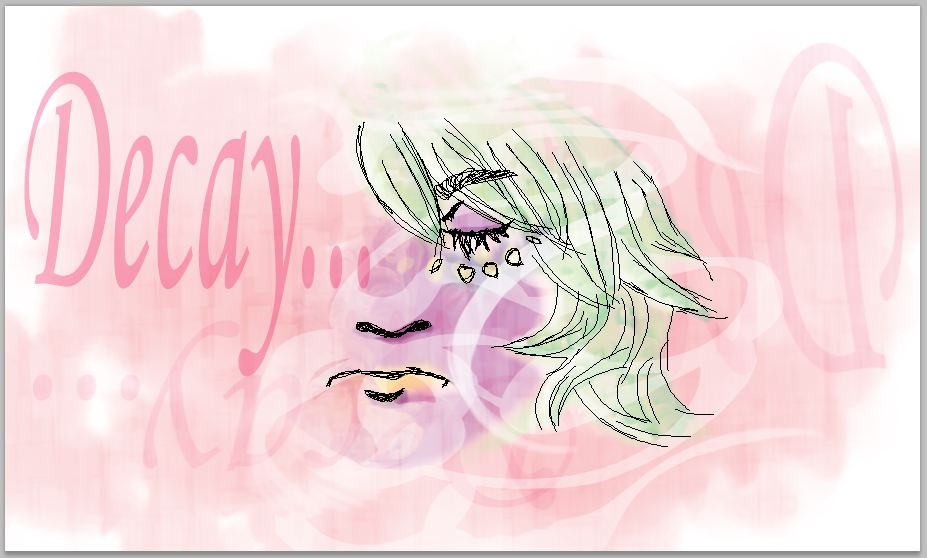 More text in lesser opacities and flipped. 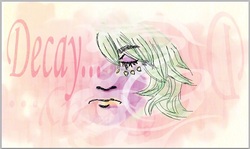 I added yellow to the edges of the image with a crayon-like brush. 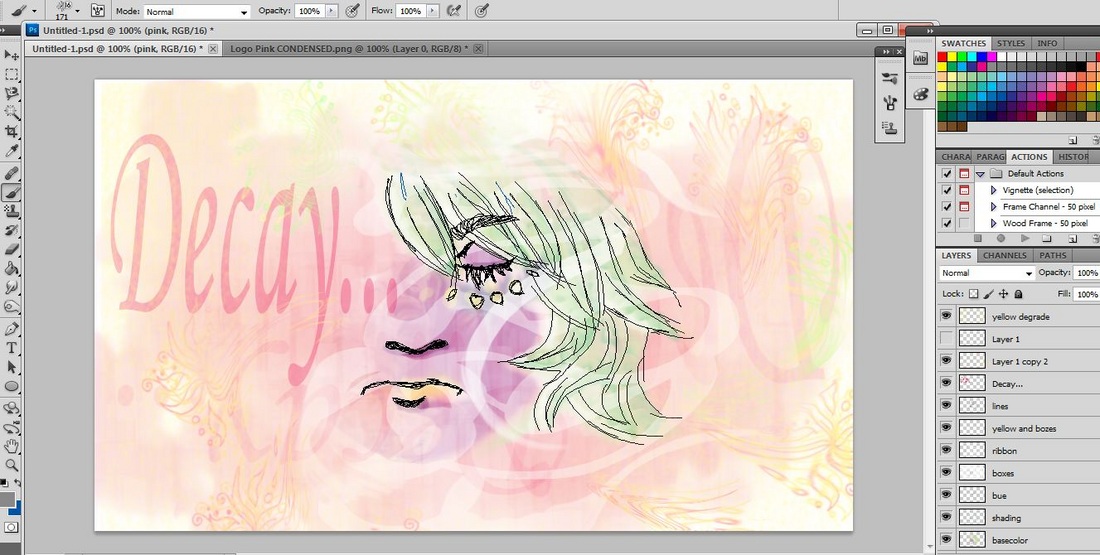 Lastly, I used a custom flower brush I made to add some extra flare. I set it to change hue gradually and rotate. I copied the layer twice and changed the hues in each one. I merged the layers and used the liquefy filter to make the flowers curve in towards the middle of the image. (i will post my custom brushes in a special category if I figure out how :D) I learned how to make custom brushes from here:http://www.bittbox.com/photoshop/how-to-make-a-photoshop-brush 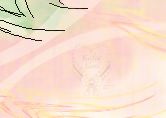 aaaand... finally, sneak in my logo. >:D
Thanks for looking guys! <3http://kafae-latte.deviantart.com/ |

Kafae[Ka-Fah-Eh]I am a young artist living in the U.S. I aspire to be a mangaka and delve into many different projects each year. Categories
All
Archives
September 2013
|
 RSS Feed
